The objective of this project was just to challenge myself to see if I could design and fabricate my own pair of bluetooth headphones. I originally got the idea when the plastic frame of my favourite pair of headphones broke. The only way that I could see fixing it was to 3d printed a replacement part of the frame however the frame was assempled with such tight tolerances I didn’t think that my 3d printer could manage. I decided that the only way to fix it would be to design and 3d print a replacement to the entire frame, so I decided just to design and make a completely new pair of headphones and better yet make them bluetooth.
The Mechanical Design
The headphones were designed using fusion 360 as that was the program that I was most comfortable with. I started this project in september of 2017 and at that point I didn’t have much expereince creating functional mechanical assemblies, most of my projects had been small 3d printed static objects like modifications to my printer or replacing broken parts of a chair or desk.
I went to my local electronics store and tried on different headphones do find what design aspects and features I wanted to include in my design.
What I settled on was that the ear cups of the Beats Studios were increadibly comfortable however the beats themselves felt overly bulky. The Bose Quietcomfort 35s had less comfortable earcups but had a much more sleak and stylish design. In terms of sound the Beats Studios were too bass heavy whilst the Bose Quietcomfort 35s were a lot more balanced but still had decent bass.
As such I decided to base my design of the headphones around the Bose Quietcomfort 35s but have the earcushions of the beats Studio’s fit on them. Additionally, I wanted them to sound like the Bose Quietcomfort 35s
The headband of the heaphones would ideally be made using metal however I wasn’t sure how I would go about fabricating a metal band of the correct dimensions. Instead the headband is also 3d printed however since the all of the parts of the heaphones are printed in ABS the headband is relativley flexible. For comfort the headband is lined with a memory foam cushion which is wrapped in a piece of faux leather.
The cushion was purchased from ebay and is meant to be an upholstery cushion, whilst the leather was also purchased from ebay and was a 20cmx20cm sample for an upholstery material.
The biggest design challenge was the sivel mechanism, specifically making it strong enough that it wouldn’t fail if you were to take of the headphones too agressively. Due to the fact that wires must pass through the entireity of the headphones the sivel mechanism had very thin walls and kept breaking. To overcome this I used chamfers instead of hard angles to reduce the stress and I increased the wall thickness as much as posssible by widen the cavity it is inserted into this resulted in the sivel mechanism being more loose but it is much stronger.


The Electronics
This project is based around the krc-86b stereo Bluetooth receiver, at the time this was the only bluetooth audio receiever that I could find that both had pins for button control and was designed for higher powered speakers.
Unfortunately this bluetooth module was a very big let down, specifically the fact that it introduced a hissing background noise (sort of like static from an old tv). I tried addind filters to get rid of the noise but if i’m honest I was a lot less educated when it came to analogue electronics back then so I could not get rid of the noise. The noise is unnoticeable when music is playing but unbearable when music is the off.
The worst part of all was that the audio quality over bluetooth was terrible. Initially I thought that It was the speakers drivers I had bought that were terrible however when I plugged the headphones in tirectly via a 3.5mm jack and the bluetooth module was acting as a pass through the audio quality increased tremdously.
The speakers I used were purchased from ebay and were listed a replacement drivers for Bose Quietcomfort 35s. They were obviously fakes and even when plugged in without the bluetooth module they didn’t sound as good as real Bose Quietcomfort 35s but they didn’t sound too bad.
The krc-86b had pins for music control, you would simply pull the pin high to execute the desired command. I accessed these controls by adding three very basic mechanical momentary switches that would pull the control pins high when they were pressed.
The headphones are powered using a lithium polymer battery connected to a TP4056 lithium battery charging circuit and charged via a micro usb port.
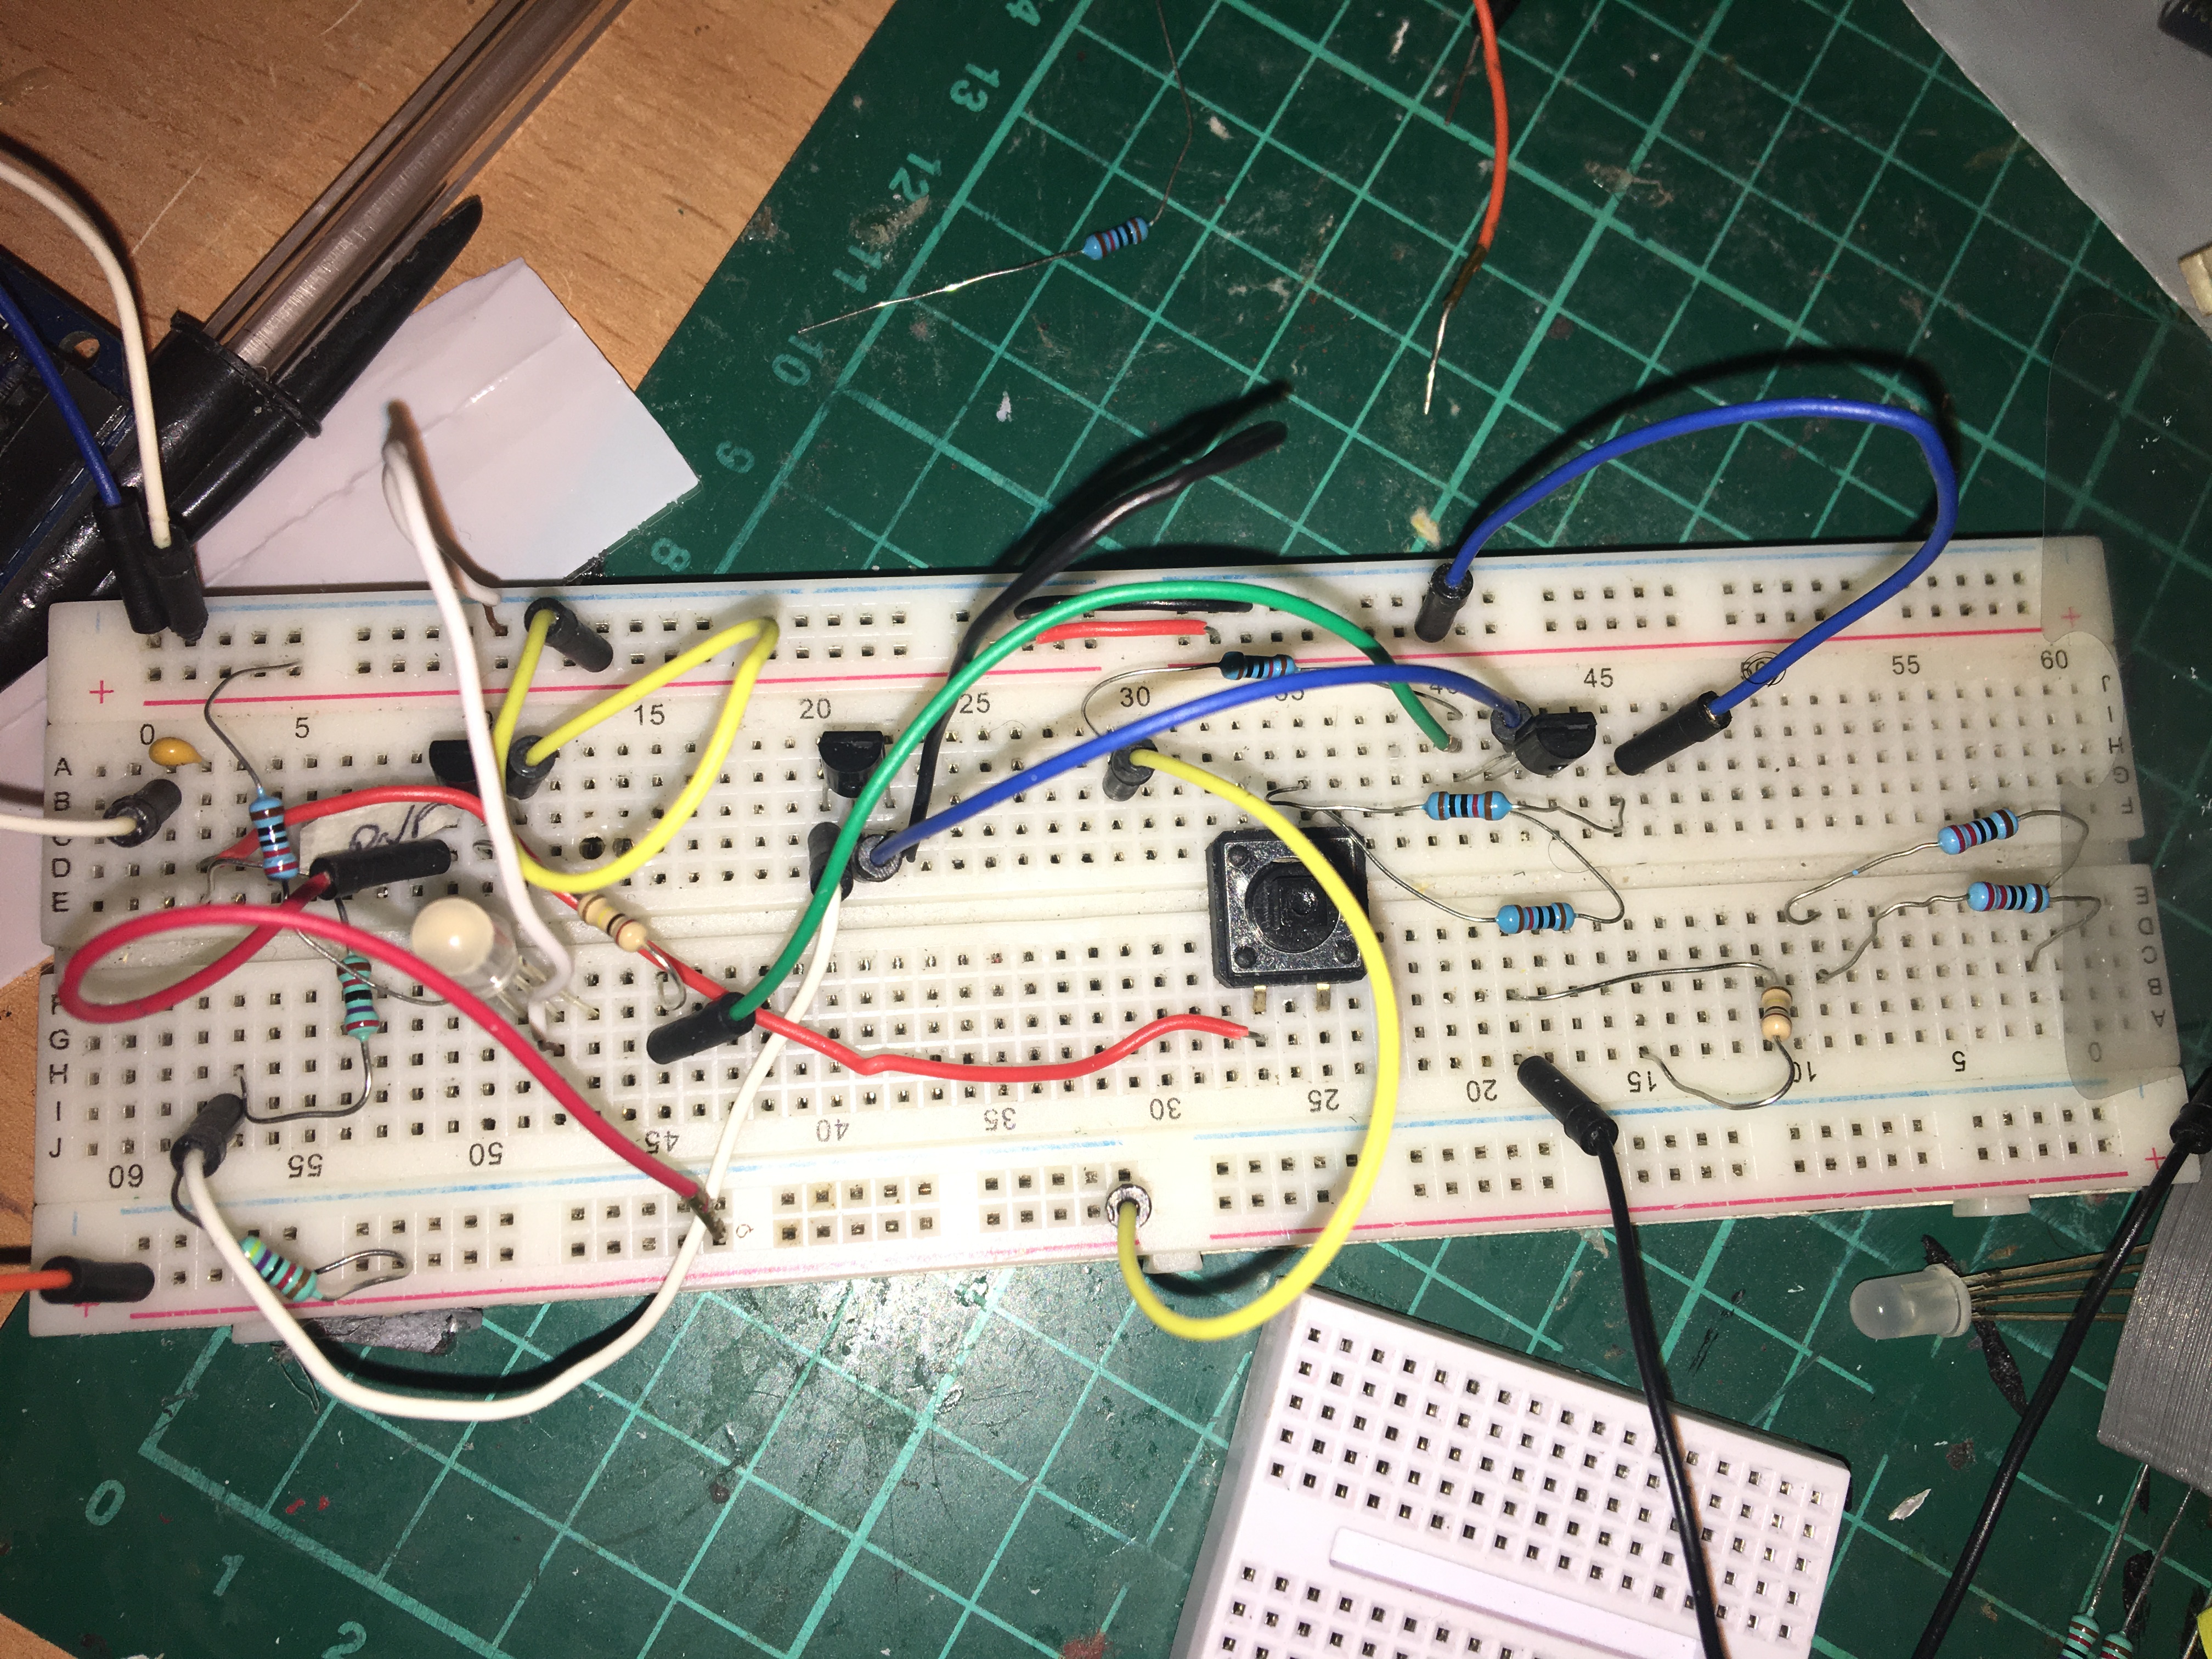
Finally the last challenge was turning the headphones off and on. I decided that I didn’t want to have a mechanical sliding switch or a phyically latching switch but I wanted the power button to be a momentary switch similart to that on a phone or laptop. This was a very strange feature to implement especially considering how much trouble it caused me but I thought at it would make the headphones feel more “premium”. To achieve this I found a latching circuit (using bjt transistors) online and assembled it however many of the circuits that I found online simply didn’t work despite being wired up correctly maybe it was to do with the transistor I was using. When I finally found a circuit that worked I assembled it using some prototype board and added it to the headphones.

Originally I added an amplifier to raise the volume then a couple potential dividers to lower the volume as the amplifier made it too loud however I found that the amplifier greatly amplified the background noise so I removed it.
The way the headphones are spread out is one earcup holds all the audio electronics such as the KRC-86b, the control buttons, and the 3.5mm pass through jack. Whilst the other earcup holds all the power electronics such as the charging port LED inducator ,battery and charging circuit, the latching circuit and the power button. This is to distribute the weight more evenly and reduce the number of wires that have to pass through the headband to just two 1mm thick wires and a piece of wire that I salvaged from a cheap pair of earphones. Despite having an overall thickness of about 1mm also, the wire contrains two sepeate cores that are isolated from each other by some form of coating. This wire is what’s used to connect the speaker drivers to the krc-86b.
Final Thoughts
Were I to do this project again I would test the bluetooth receiver extensively before basing the heaphones around it. Looking online, it seems as though there is a much larger selection of bluetooth audio recievers now some of which even have their own power mangement & latching circuit and can communicate over bluetooth low energy (BLE) to give the connected phone battery information.
Also I would experiment with using snap fit connectors instead of screws as this would look better.
Finally I may run some stress analysis on the headphones do see where parts may fail and how certain design changes would affect this. This would save me from printing and testing every design change.


