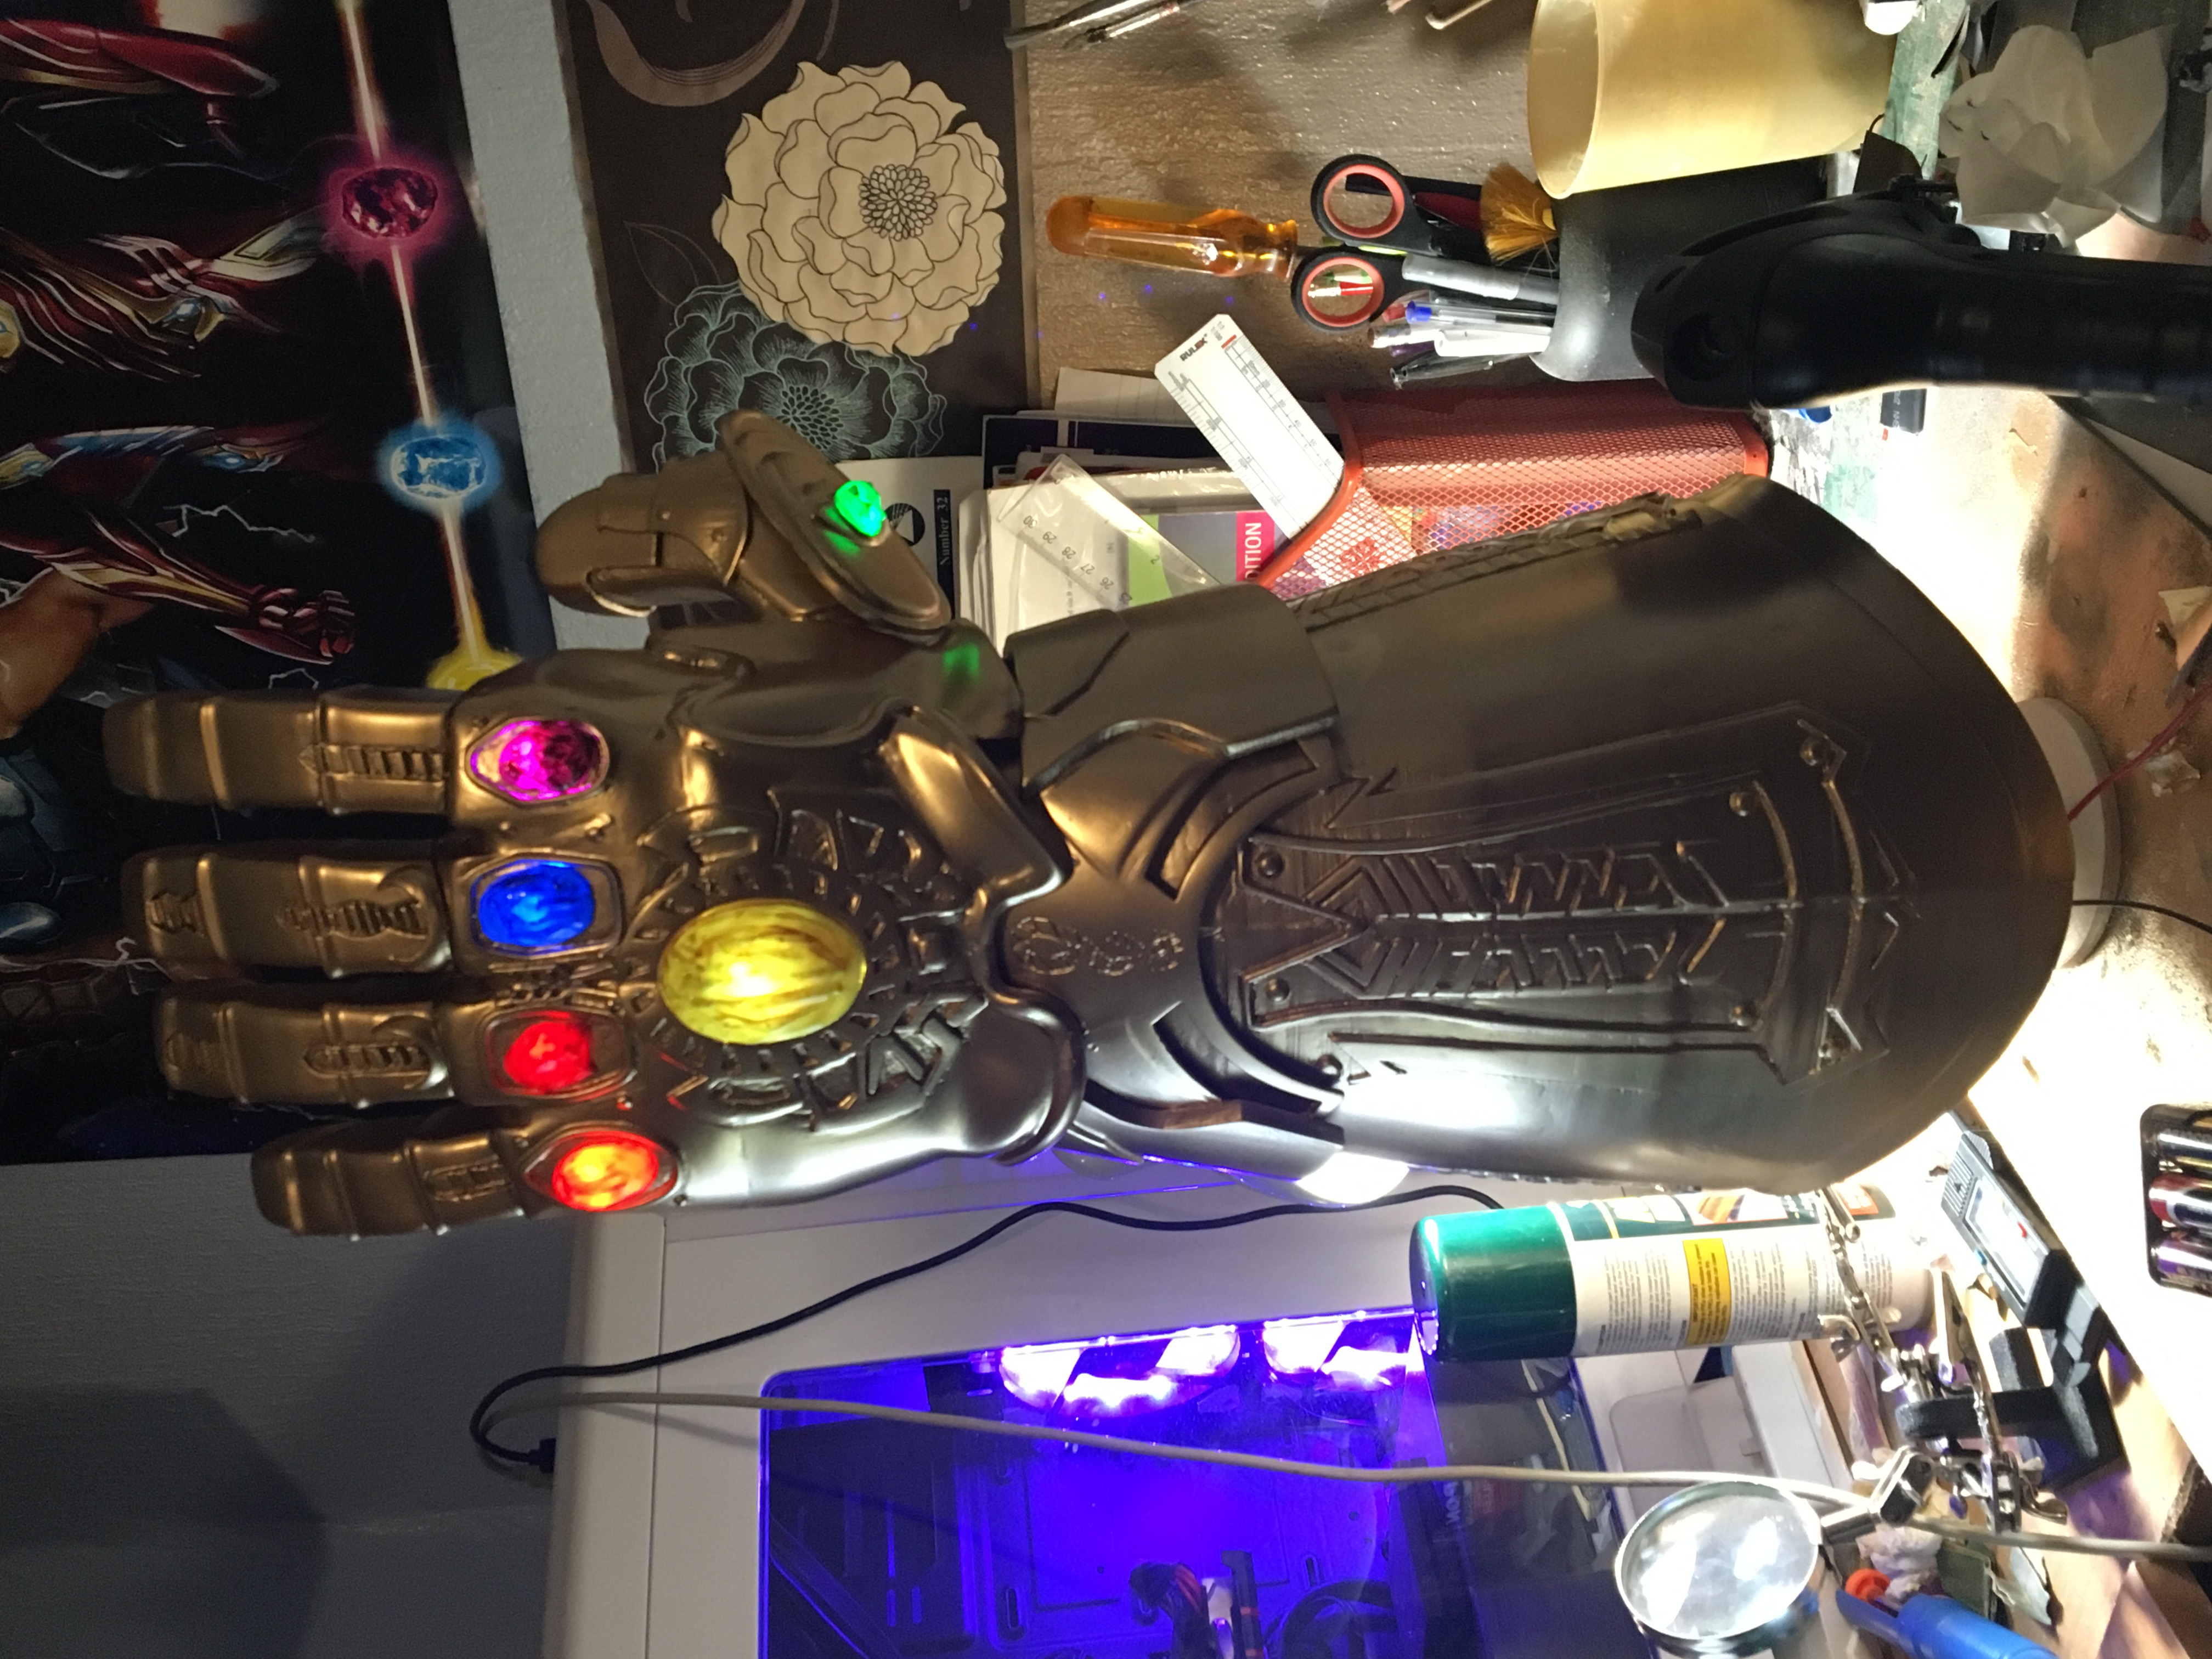
This project was a full size infinity guantlet that I designed in Fusion 360 and 3d printed on my prusa i3 (clone).
Background information & Context
Back in 2018, Marvel’s Avengers Infinity war was about to be released, the culmination of the entire marvel cinematic universe up to that point (around 20 films across 10 years of films), as you can imagine I was very excited. Around this time I was 3d printing and ocassionally selling replica movie props and I decided that I wanted some prop from Infinity war. I stumbled across a youtube video by “the broken nerd” who had 3d printed a full size infinity gauntlet in november of 2017. Instantly I knew that I wanted to make my own so I set about procuring the same files that he had used. The files in question were from Do3d.com and I sent them an email asking for the price of the files. They responded quite quickly but the price for files was £60 way out of my price range. At the time I thought that £60 was an outlandish price to ask for just a set of files especcially when you consider all of the other expenses that would go into fabricating the gauntlet, so I decided to design it myself. In hindsight after experiencing how challenging creating such a 3d model is, I think £60 is a pretty fair price and I would recommend that you look at do3d if you are looking for any movie prop or cosplay models for 3d printing.
Reference Images
Since I started this project before Avengers Infinty War had been released, when I was modelling the inifinity gauntlet I had very little in the way of reference images.
For reference I used:
- The 2 and a half minute trailer for avengers infinity war that had been released at the time
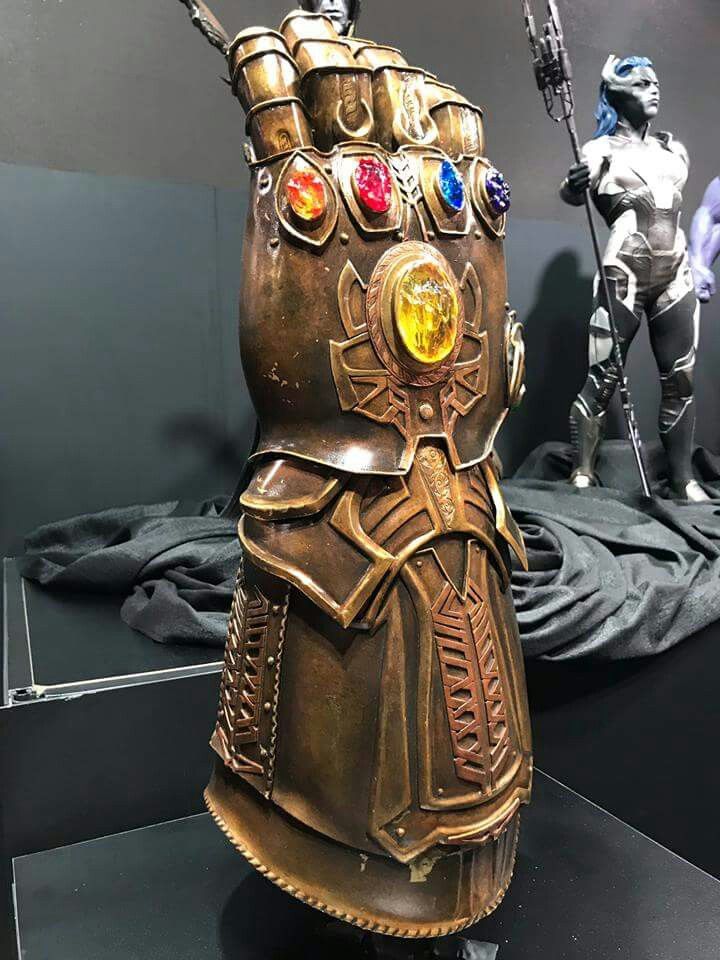
- Photos of the inifinity gauntlet prop that was displayed at d23 2017
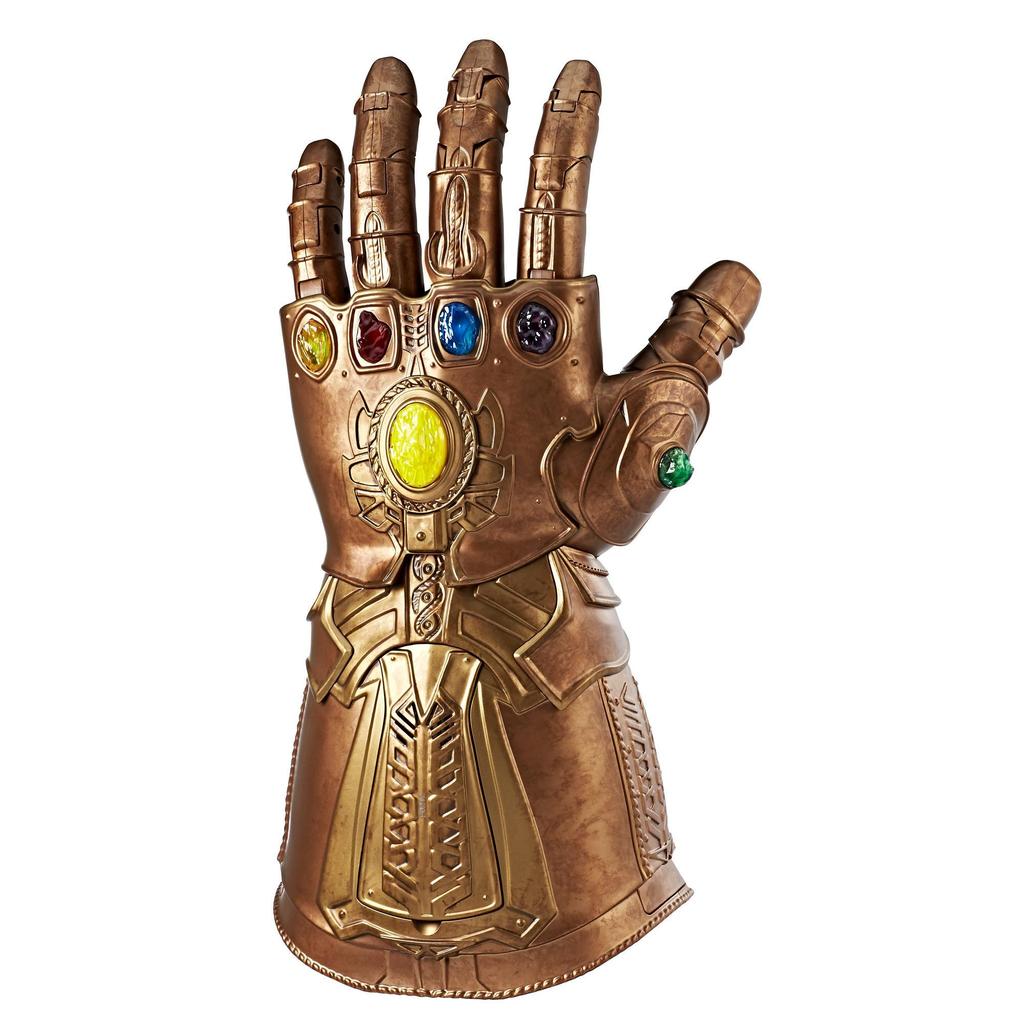
- Images of the marvel legends infinity gauntlet toy by hasbros
- Images of the hot toys infinity gauntlet replica
- An Avengers Infinity war poster that showed the infinity stones in surprising detail.
Of these reference images I think the images of the hot toys replica was the most useful as it looked almost exactly the same as the prop shown at D23 but it had pictures from many more angles than the D23 prop.

CAD Design
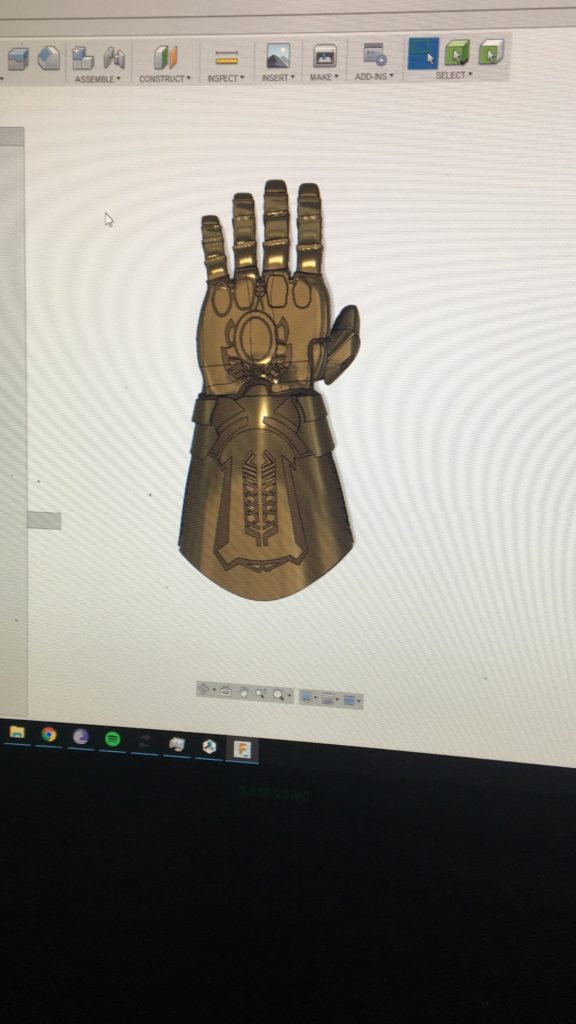
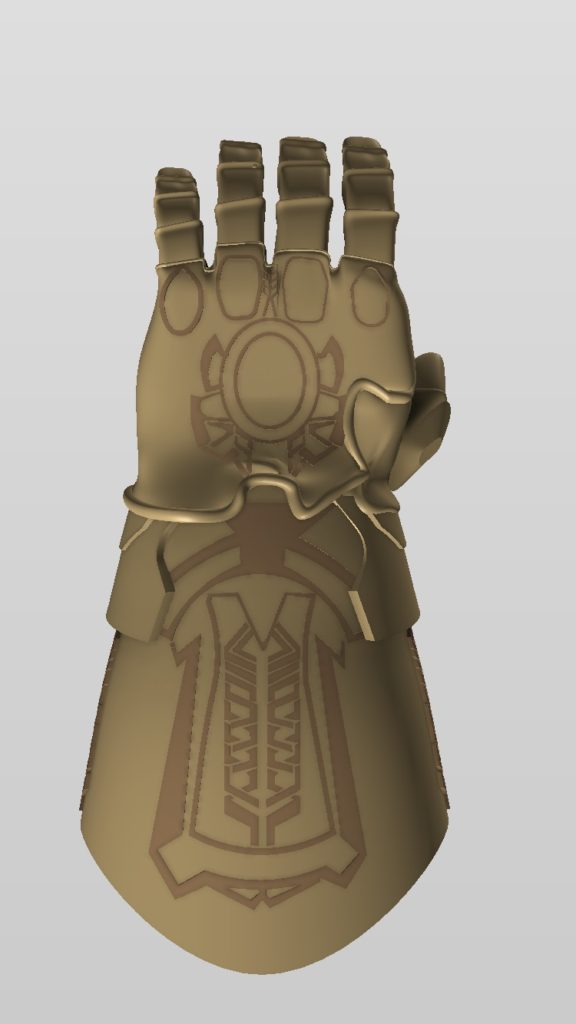
The model was designed using fusion 360 since that was the program I was most familiar with at the time. If I were to do this again I would not use fusion 360 as it is not the best when it comes to modelling organic shapes. Instead I would use a program such a blender or cinema4d.
The total time to create the model was over 60 hours, I know this because I watched every marvel movie that had been released at the time whilst I was designing the model and I still spent around another 10 hours on it after that.
Desiging this model definitely pushed my CAD skills to the limit but by the end of it I could tell that my CAD skills had greatly improved. This was the largest 3d printing project I have ever attempted and so optimising the design for 3d printing was crucial. I think In this regards I did quite well however were I to do it again I would be more careful about where I split the model into seperate parts. This is because I found that it was difficult to fill and sand a seam line when it was running through an area with an embossed pattern.

3D printing
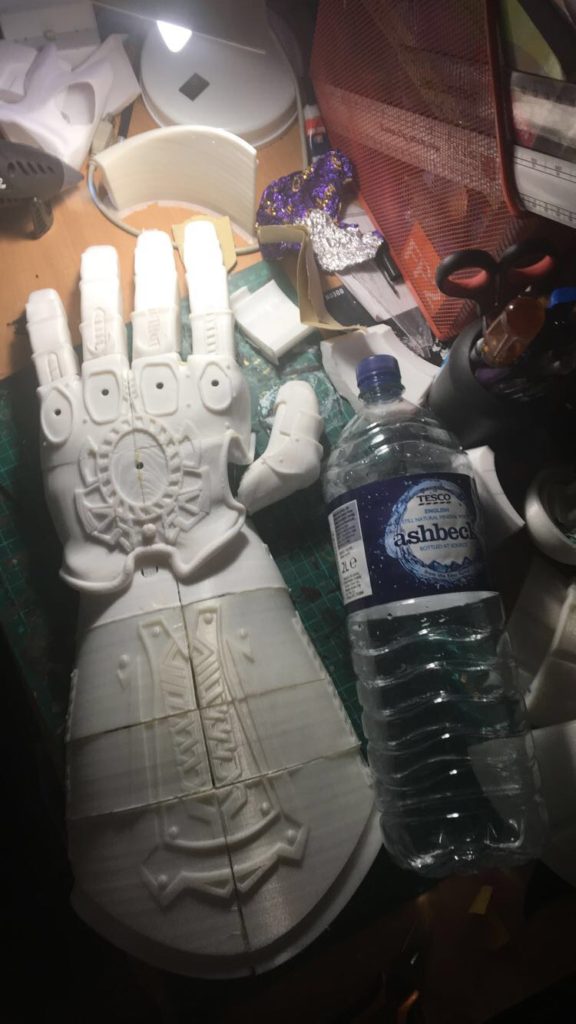
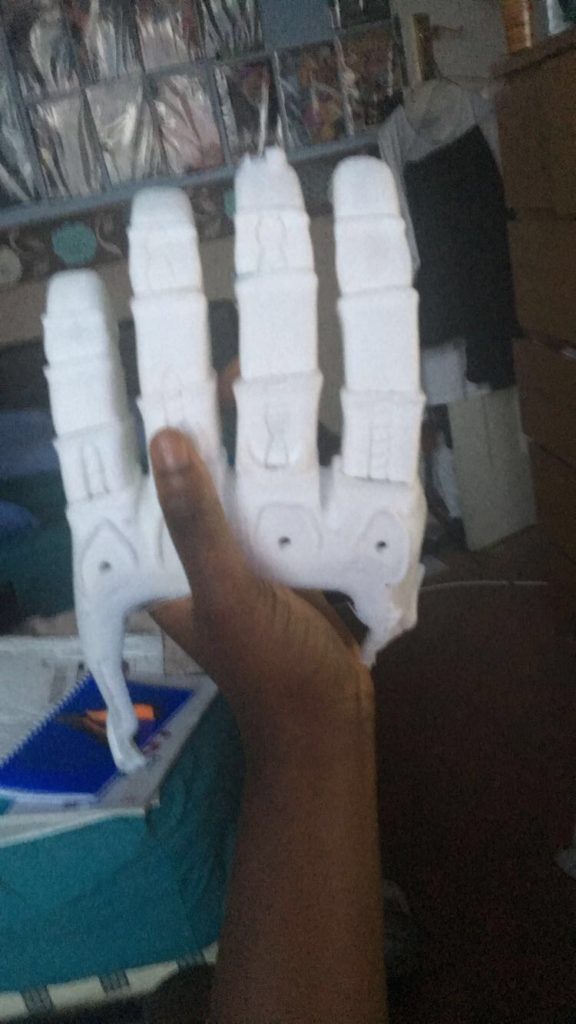
The entire gauntlet was printed in white PLA plastic mostly at 15% infill. I honestly have no Idea how long it took to 3D print the model especially when you include failed prints and the fact that I don’t like to leave my printer running overnight (which severley limits the maximum print time for a part). But from what I can remember I was printing for over a month.


Post Processing
After printing I glued the parts togther using super glue, another thing that would change in the design is to add registration points so that the parts will line up when I am assembling them.
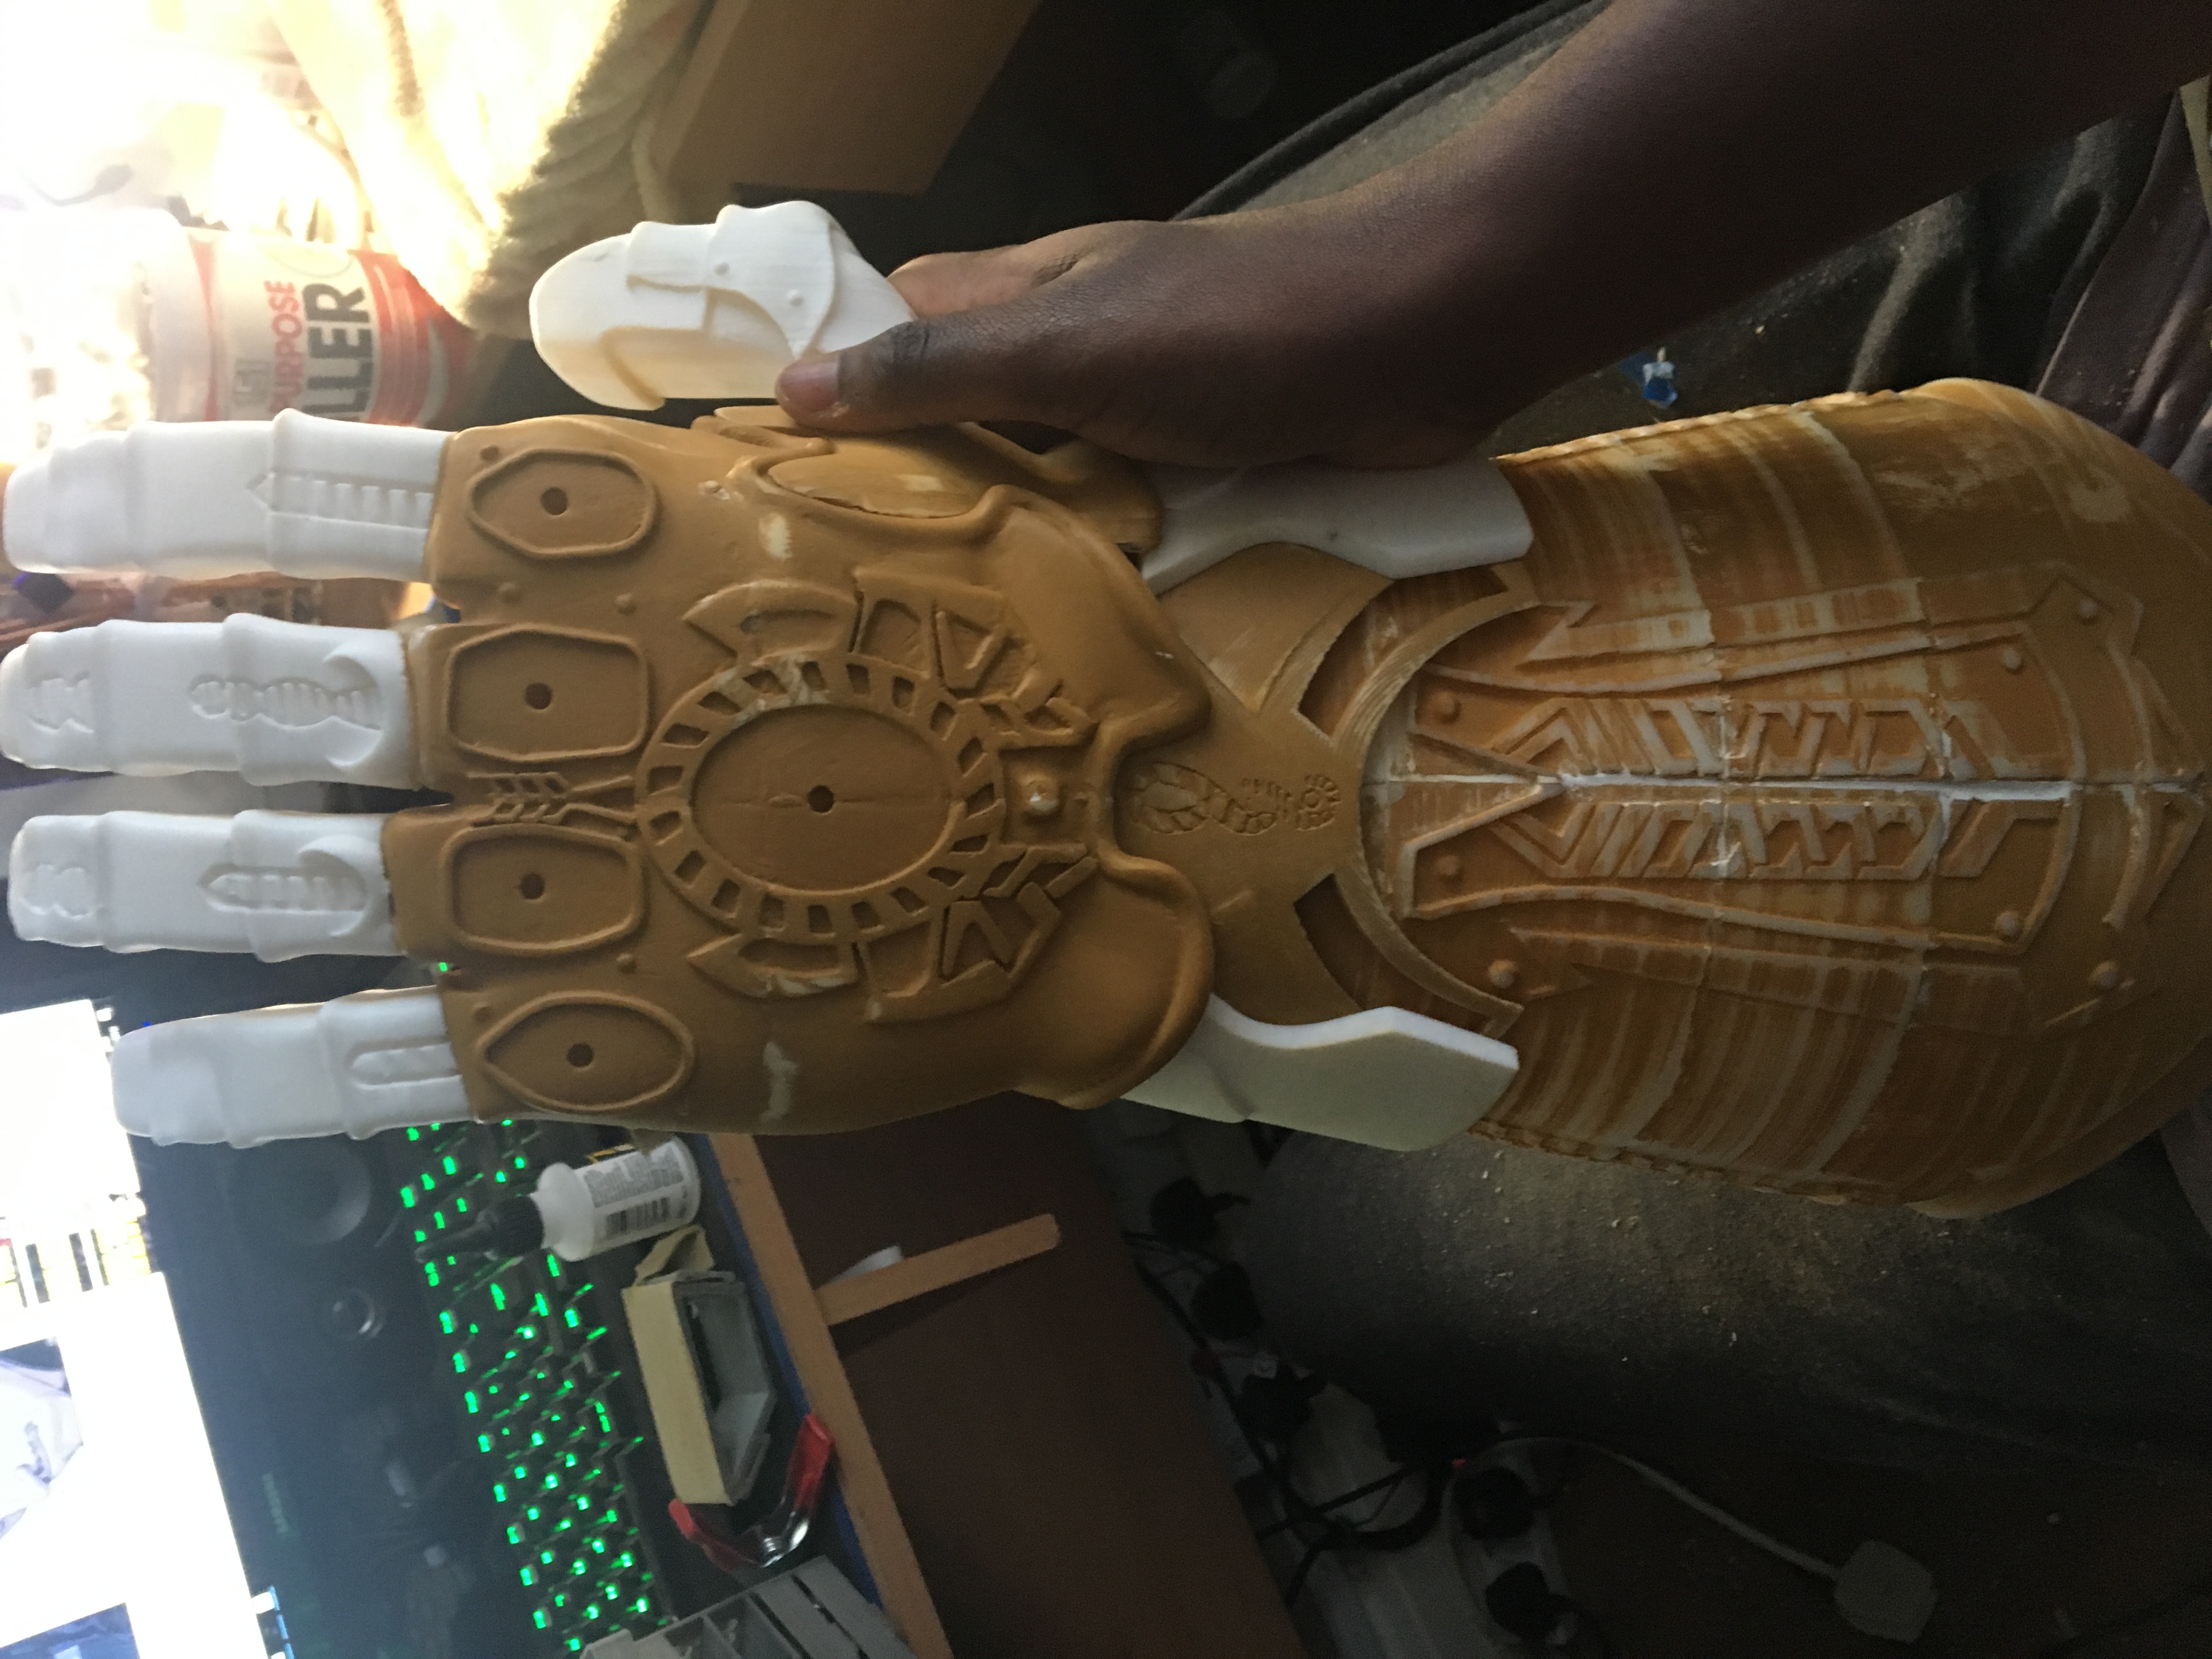
I then filled the seam lines and sanded the filler until it was flush. At first I was using a cheap wood filler but the filler itself was really porous when it dried so when I sanded it always had a very noticiable rough surface. I switched to using Bondo, a two part car body filler which worked really well, the only downsides were the fumes.
As mentioned before, if I were to redo this project I would make sure that the seams did not go through any part consisting of intricate detail as it is very difficult to fill and sand these areas, especially when you need to retain as much detail as possible.
After gluing and filling I applied multiple coats of a filler primer and sanded it back. I repeated this until the layer lines were gone and the part was smooth to the touch. This part took an extremeley long time, once again I don’t have an exact time frame for how long but I watched the majority of “Friends” while I was doing it. (Yes, the friends TV show with 10 23-episode seasons. )
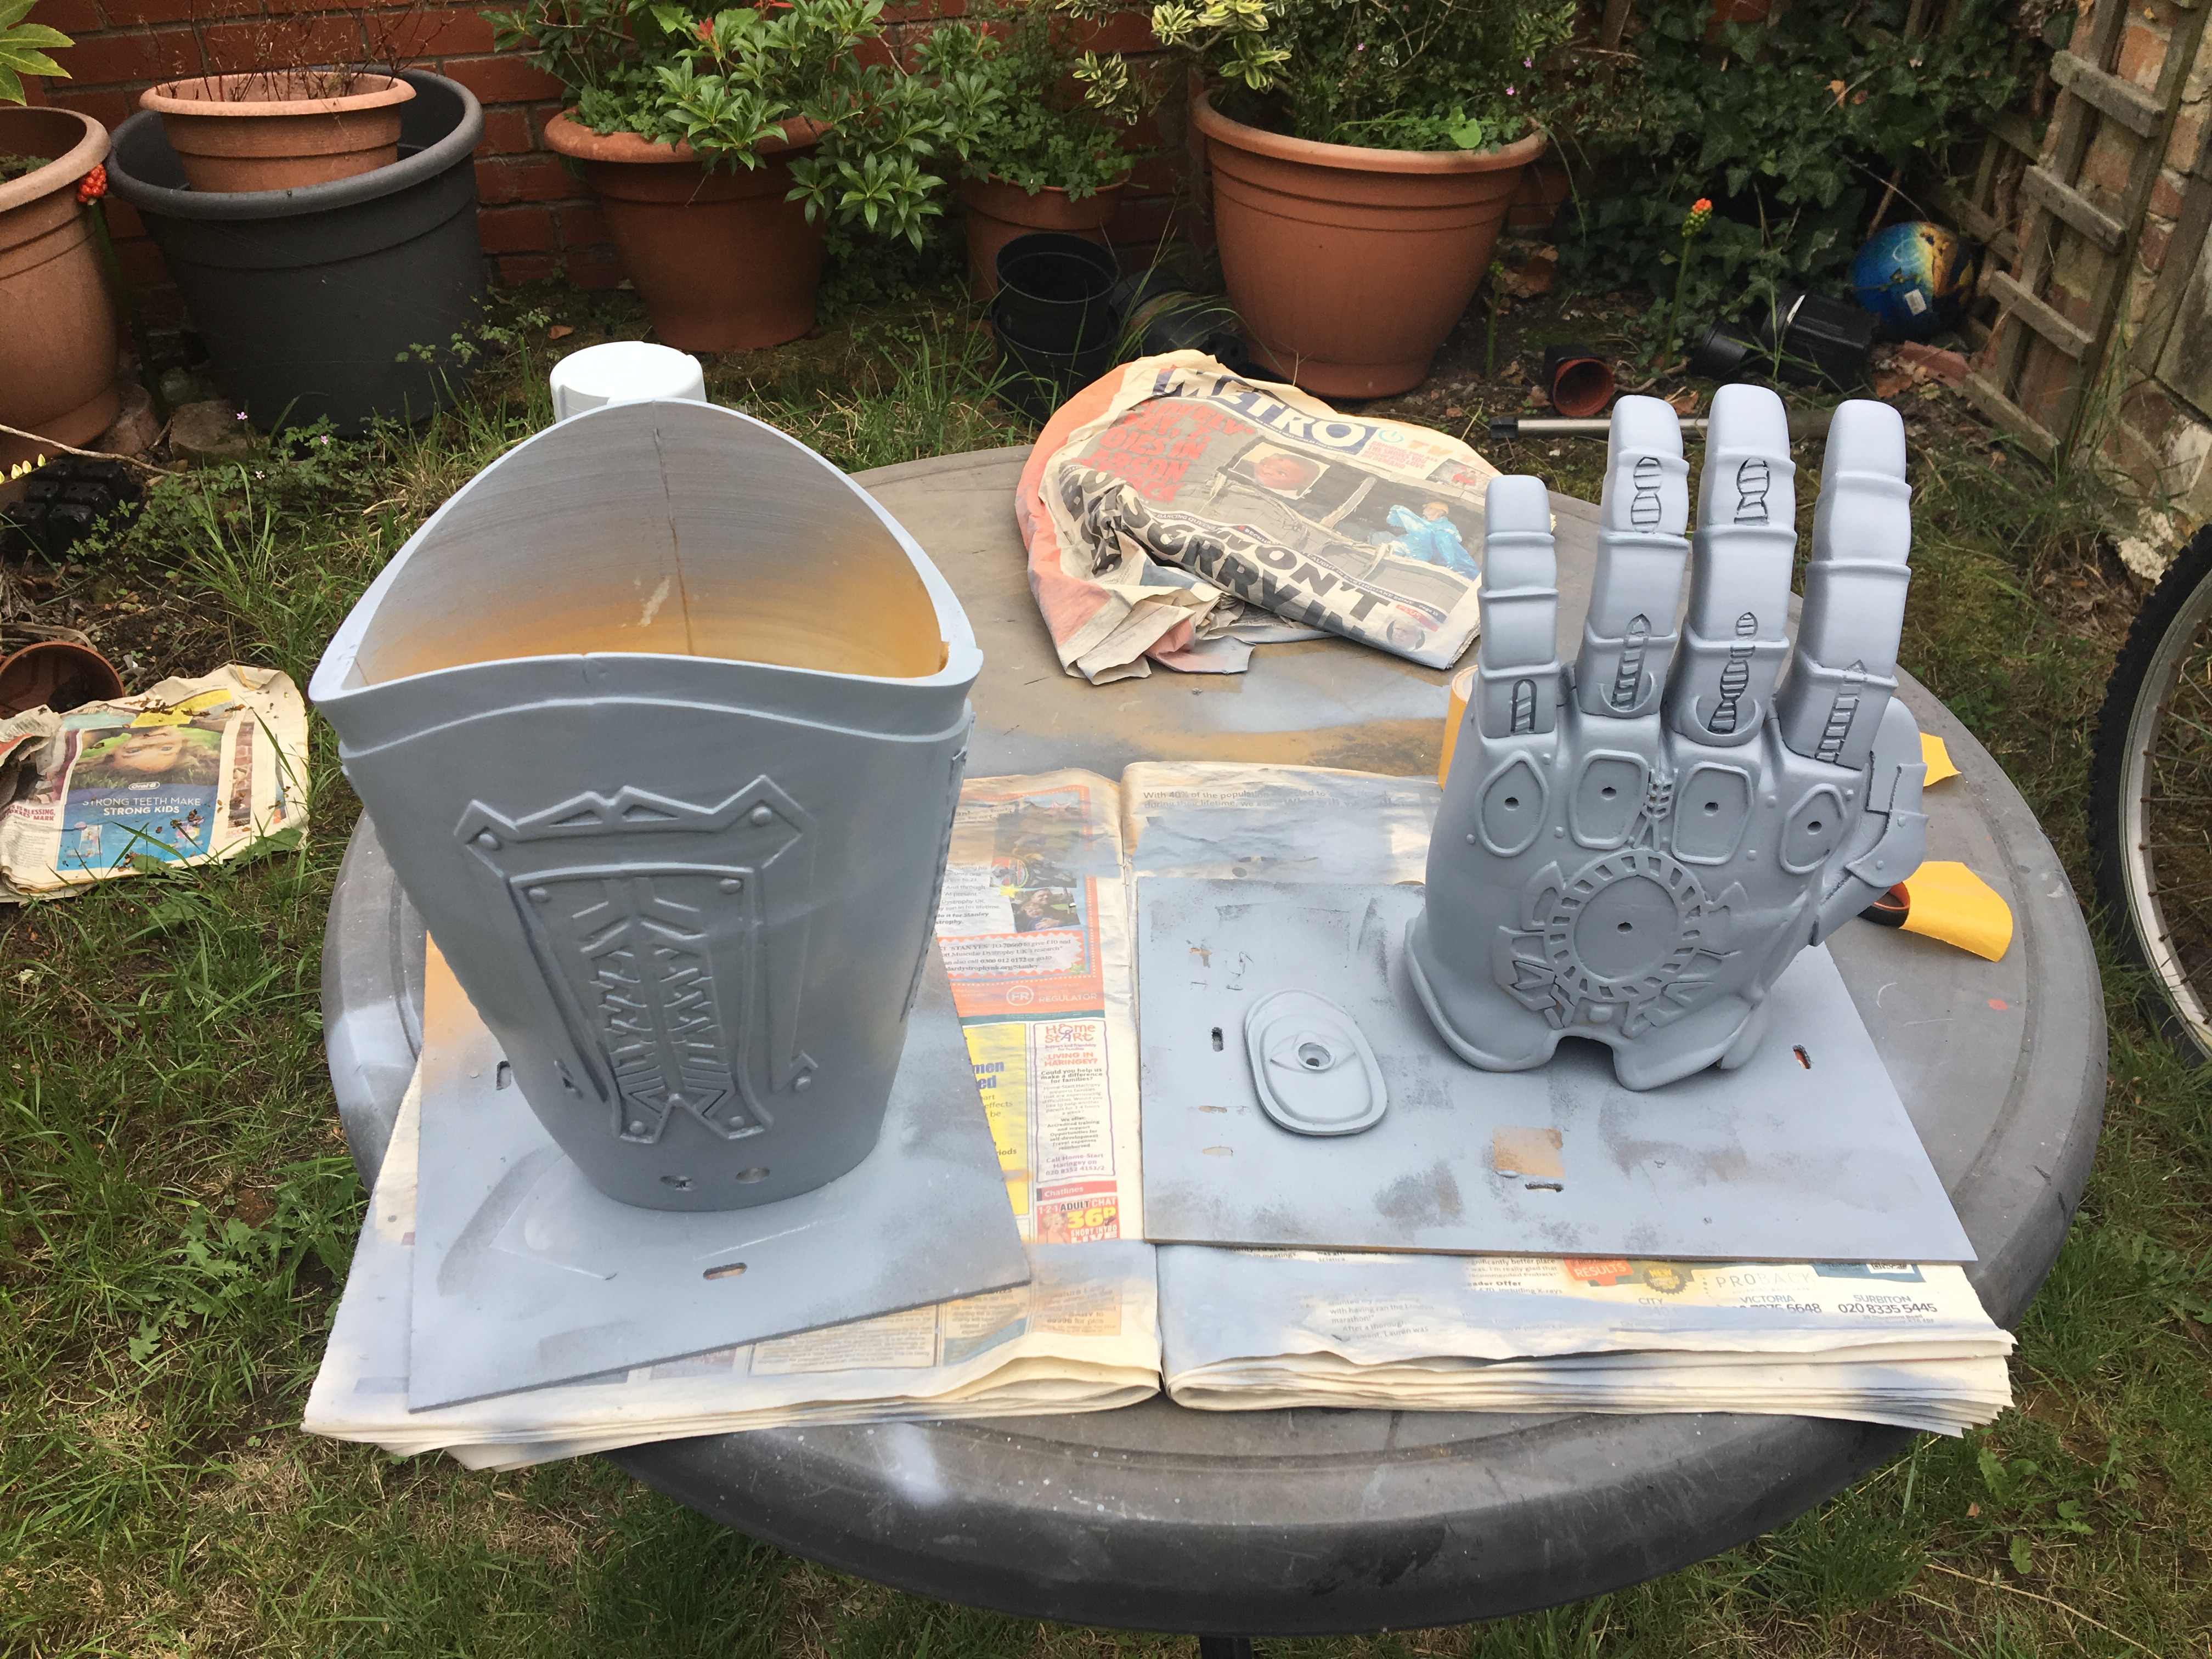

Final assembly
Finally, once every thing was glued together I added the “infinity stones” which are essentially hollow domes (obviously shaped to match how the infinity stones look in the movie). These were prinited with very thin walls, and 0% infill in white PLA plastic this was so that I could put an LED behind each of them and the light would shine through.
With the addition of the infinity stones the infinity gauntlet was done however I neede a way to display it. To do this I made a stand using a a threaded rod a 3d printed base with a captive nut (this had to be printed with 100% infil to be sturdy). To attach the gauntlet to the threaded rod I made a plate that was shaped to perfectly fit on the inside of the infinity guantlet and I screwed the threaded rod into that. Once of the unexpected benefits of using fusion 360 was that it showed me where the centre of mass of the model was which allowed me to position the stand so that the entire assembly is very stable.


